Create modifiers and option groups
Build reusable option groups like Size and Extras with required, min and max selection rules, then attach them to your menu items.
Modifiers are reusable option groups, such as sizes, toppings, sauces, or cooking styles, that you create once and attach to as many menu items as you like. Instead of rebuilding the same "Size" choices into every pizza or drink, you define "Size" once and reuse it across your whole menu, with full control over whether customers must choose and how many options they can pick.
Open the Modifiers page
From the dashboard, click Menu in the sidebar, then select Modifiers from the top navigation or page header. This opens your modifier catalogue, where each group appears as a card showing its name, a Required or Optional badge, a short rule hint, the number of options it contains, and how many menu items currently use it.
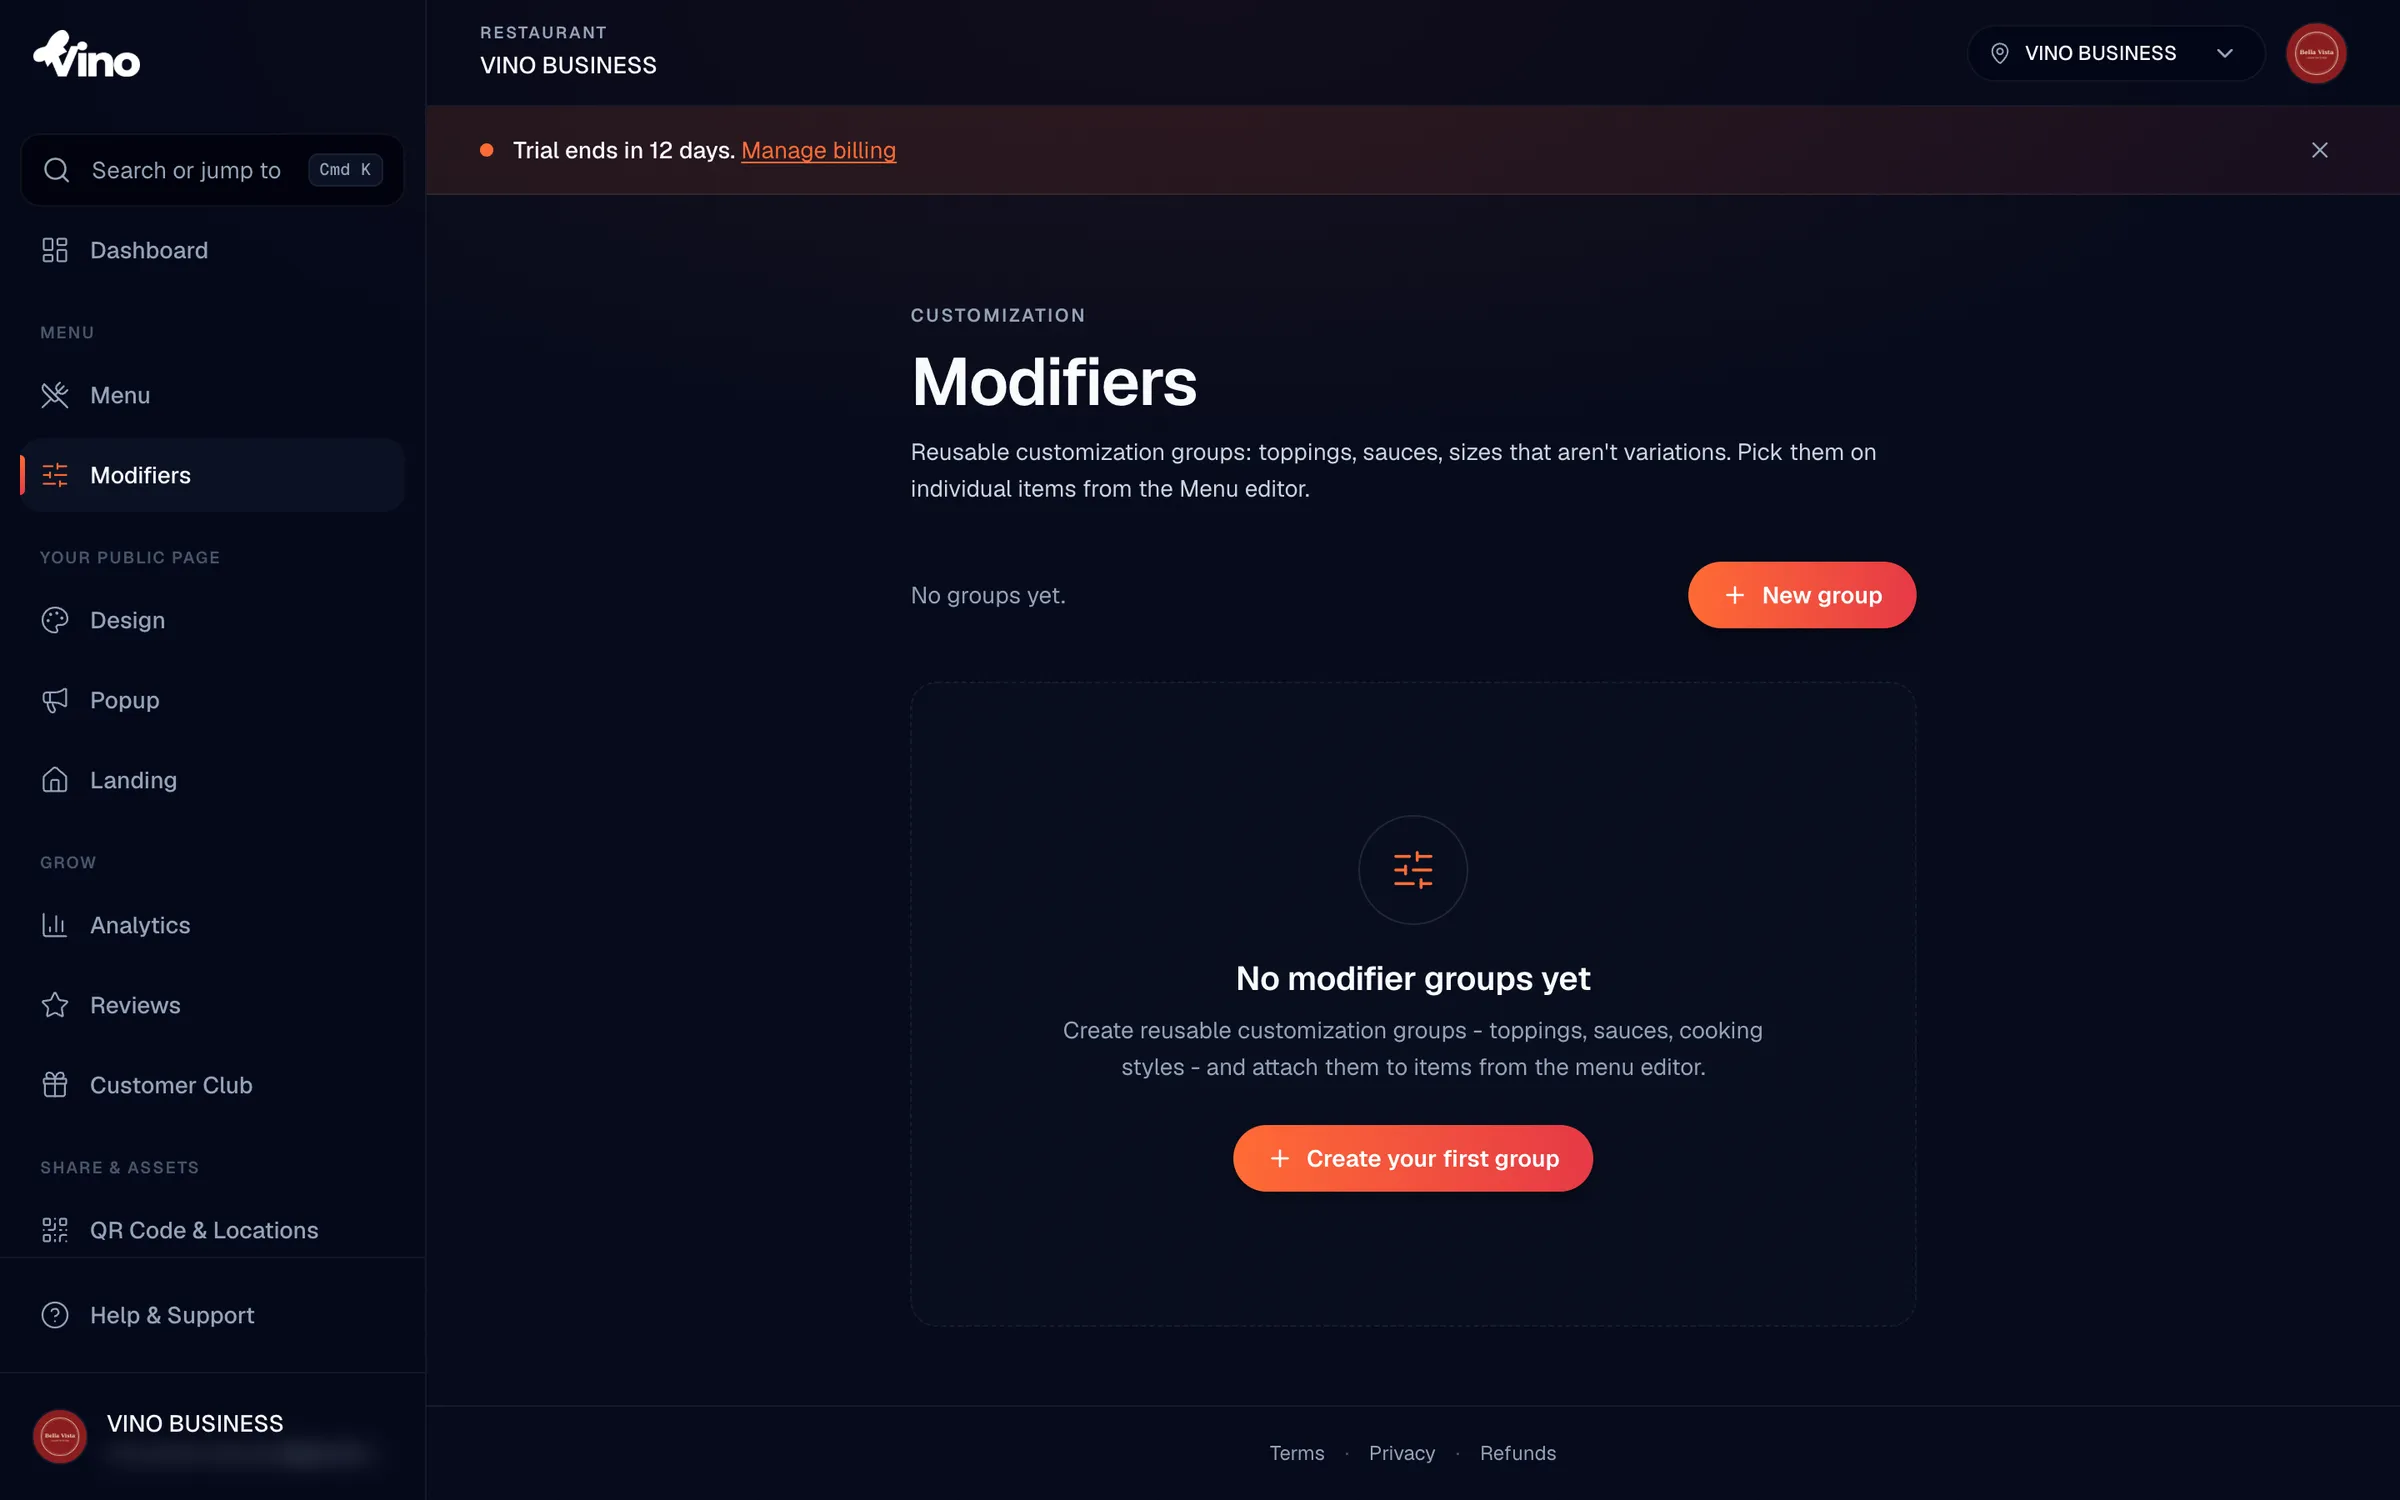
Modifiers are shared across your whole restaurant account. Every location under the same account sees and can attach the same groups, so you only build "Size" or "Extras" once.
Create a new group
Click New group to start a modifier group, then enter a name in your default language, for example "Size", "Toppings", or "Sauce". If you have multiple languages enabled, you can add translations right away or fill them in later. You can also add an optional group icon (emoji) that appears next to the group heading in the customer's order picker.
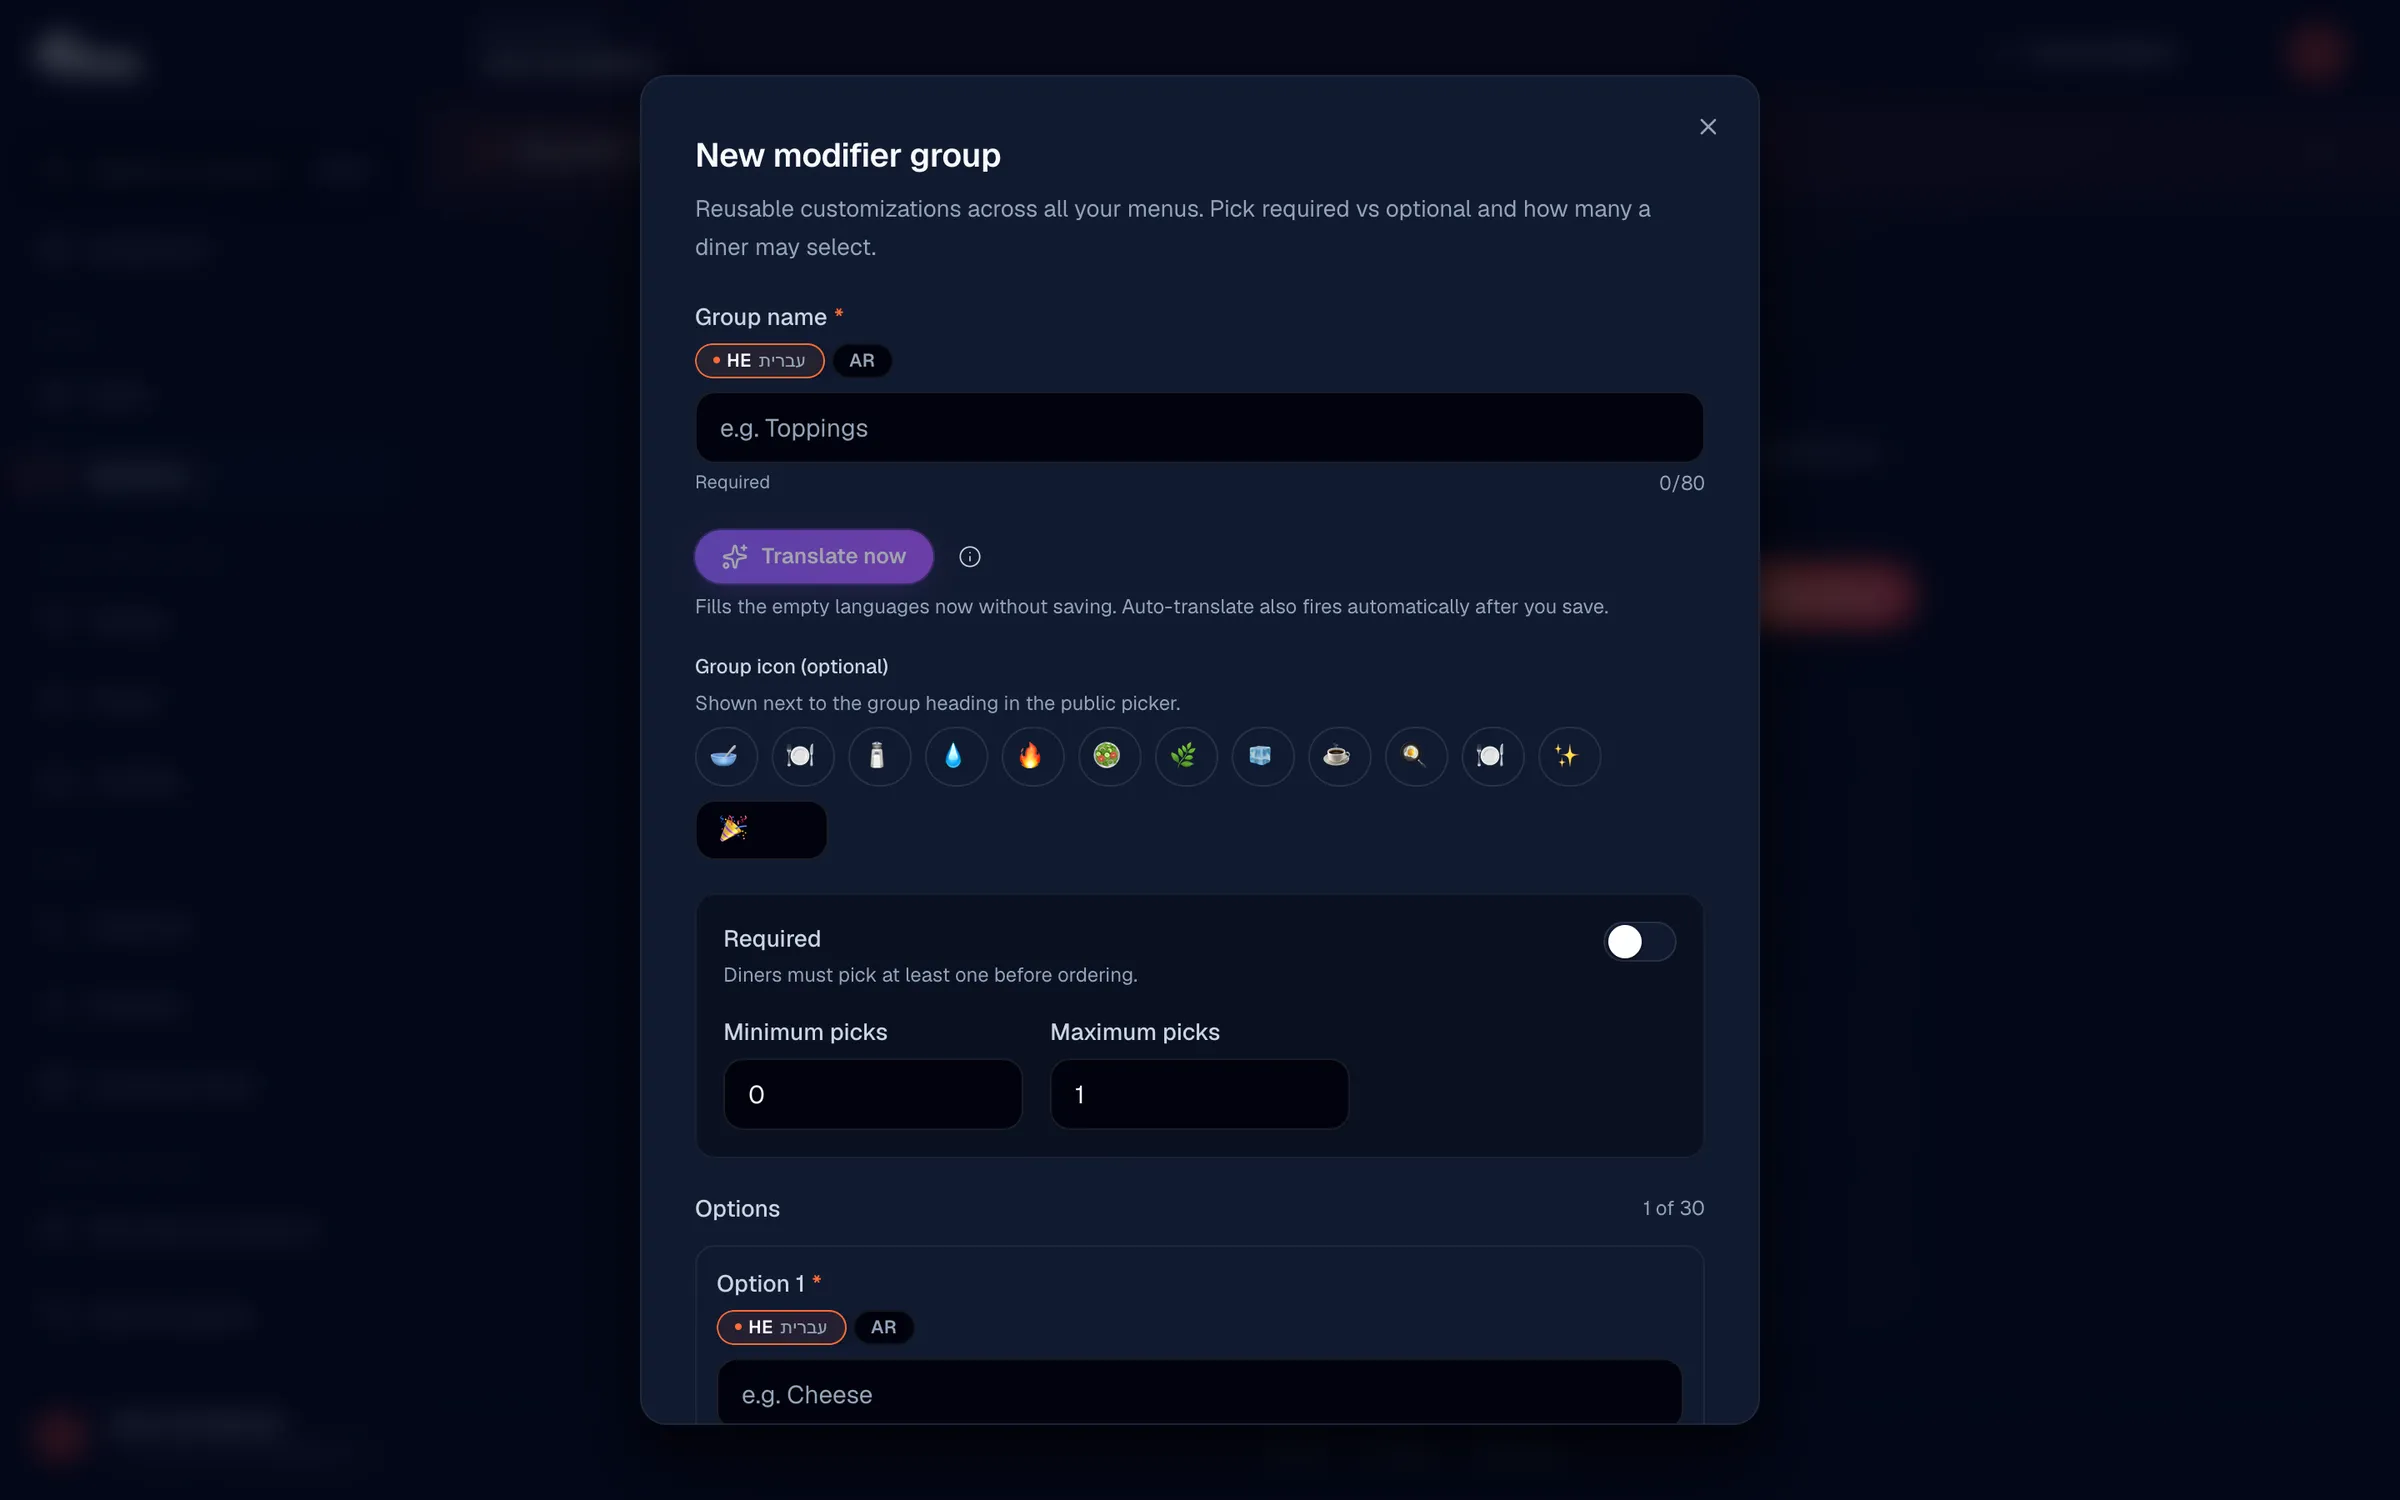
Set selection rules
Under Selection rules, decide whether the group is mandatory and how many options a customer can choose. By default, groups are optional. Toggle Required if customers must pick at least one option before they can order, then use the minimum and maximum pickers to set the allowed range, for example minimum 1 and maximum 3 to let diners choose between one and three toppings.
| Setting | What it does |
|---|---|
| Required toggle | Makes the group mandatory; customers must select at least one option before ordering. |
| Minimum picks | How many options the customer must select. 0 keeps it optional; 1 or more makes it required. |
| Maximum picks | How many options the customer can select in total. 1 means single-select; 2 or more means multi-select. |
| Group icon | Optional emoji shown next to the group heading in the customer picker. |
Add options to the group
Under Options, add each individual choice by entering its name, such as "Small", "Medium", and "Large", then click Add option to add more. For each option you can set a price adjustment (for example +$1.50 for upsizing) and leave it at 0 when there is no extra charge. You can also mark an option as Default to pre-select it, and add an optional emoji icon to help customers recognise it at a glance.
- Option name - the label for each choice, e.g. "Small", "Cheese", "Spicy".
- Price adjustment - the amount added to the order total when the option is selected, shown with a + prefix and supporting decimals.
- Default checkbox - pre-selects this option for the customer; handy for standard extras.
- Option icon - an optional emoji shown next to the option in the customer picker.
When maximum picks is 1, the group behaves like a single-select (radio) list, so only one option can be marked default. When maximum picks is 2 or more, it behaves like a multi-select (checkbox) list, and several options can be default. Each group needs at least one option to save.
Translate the group
If you run a multilingual menu, you can translate the group name and every option into all enabled languages. Use the Translate now button to instantly fill in any empty non-default languages with AI, or enter translations manually. AI-translated text is marked with a gold Sparkles badge so you can see what came from translation, and you can edit it at any time. The Translate now button needs the default-language group name to contain text before it activates.
Save the group
Click Create group to save. The group now appears in your modifier catalogue, ready to attach to as many items as you need. To make changes later, click the group's card on the Modifiers page, edit it, and click Save changes.
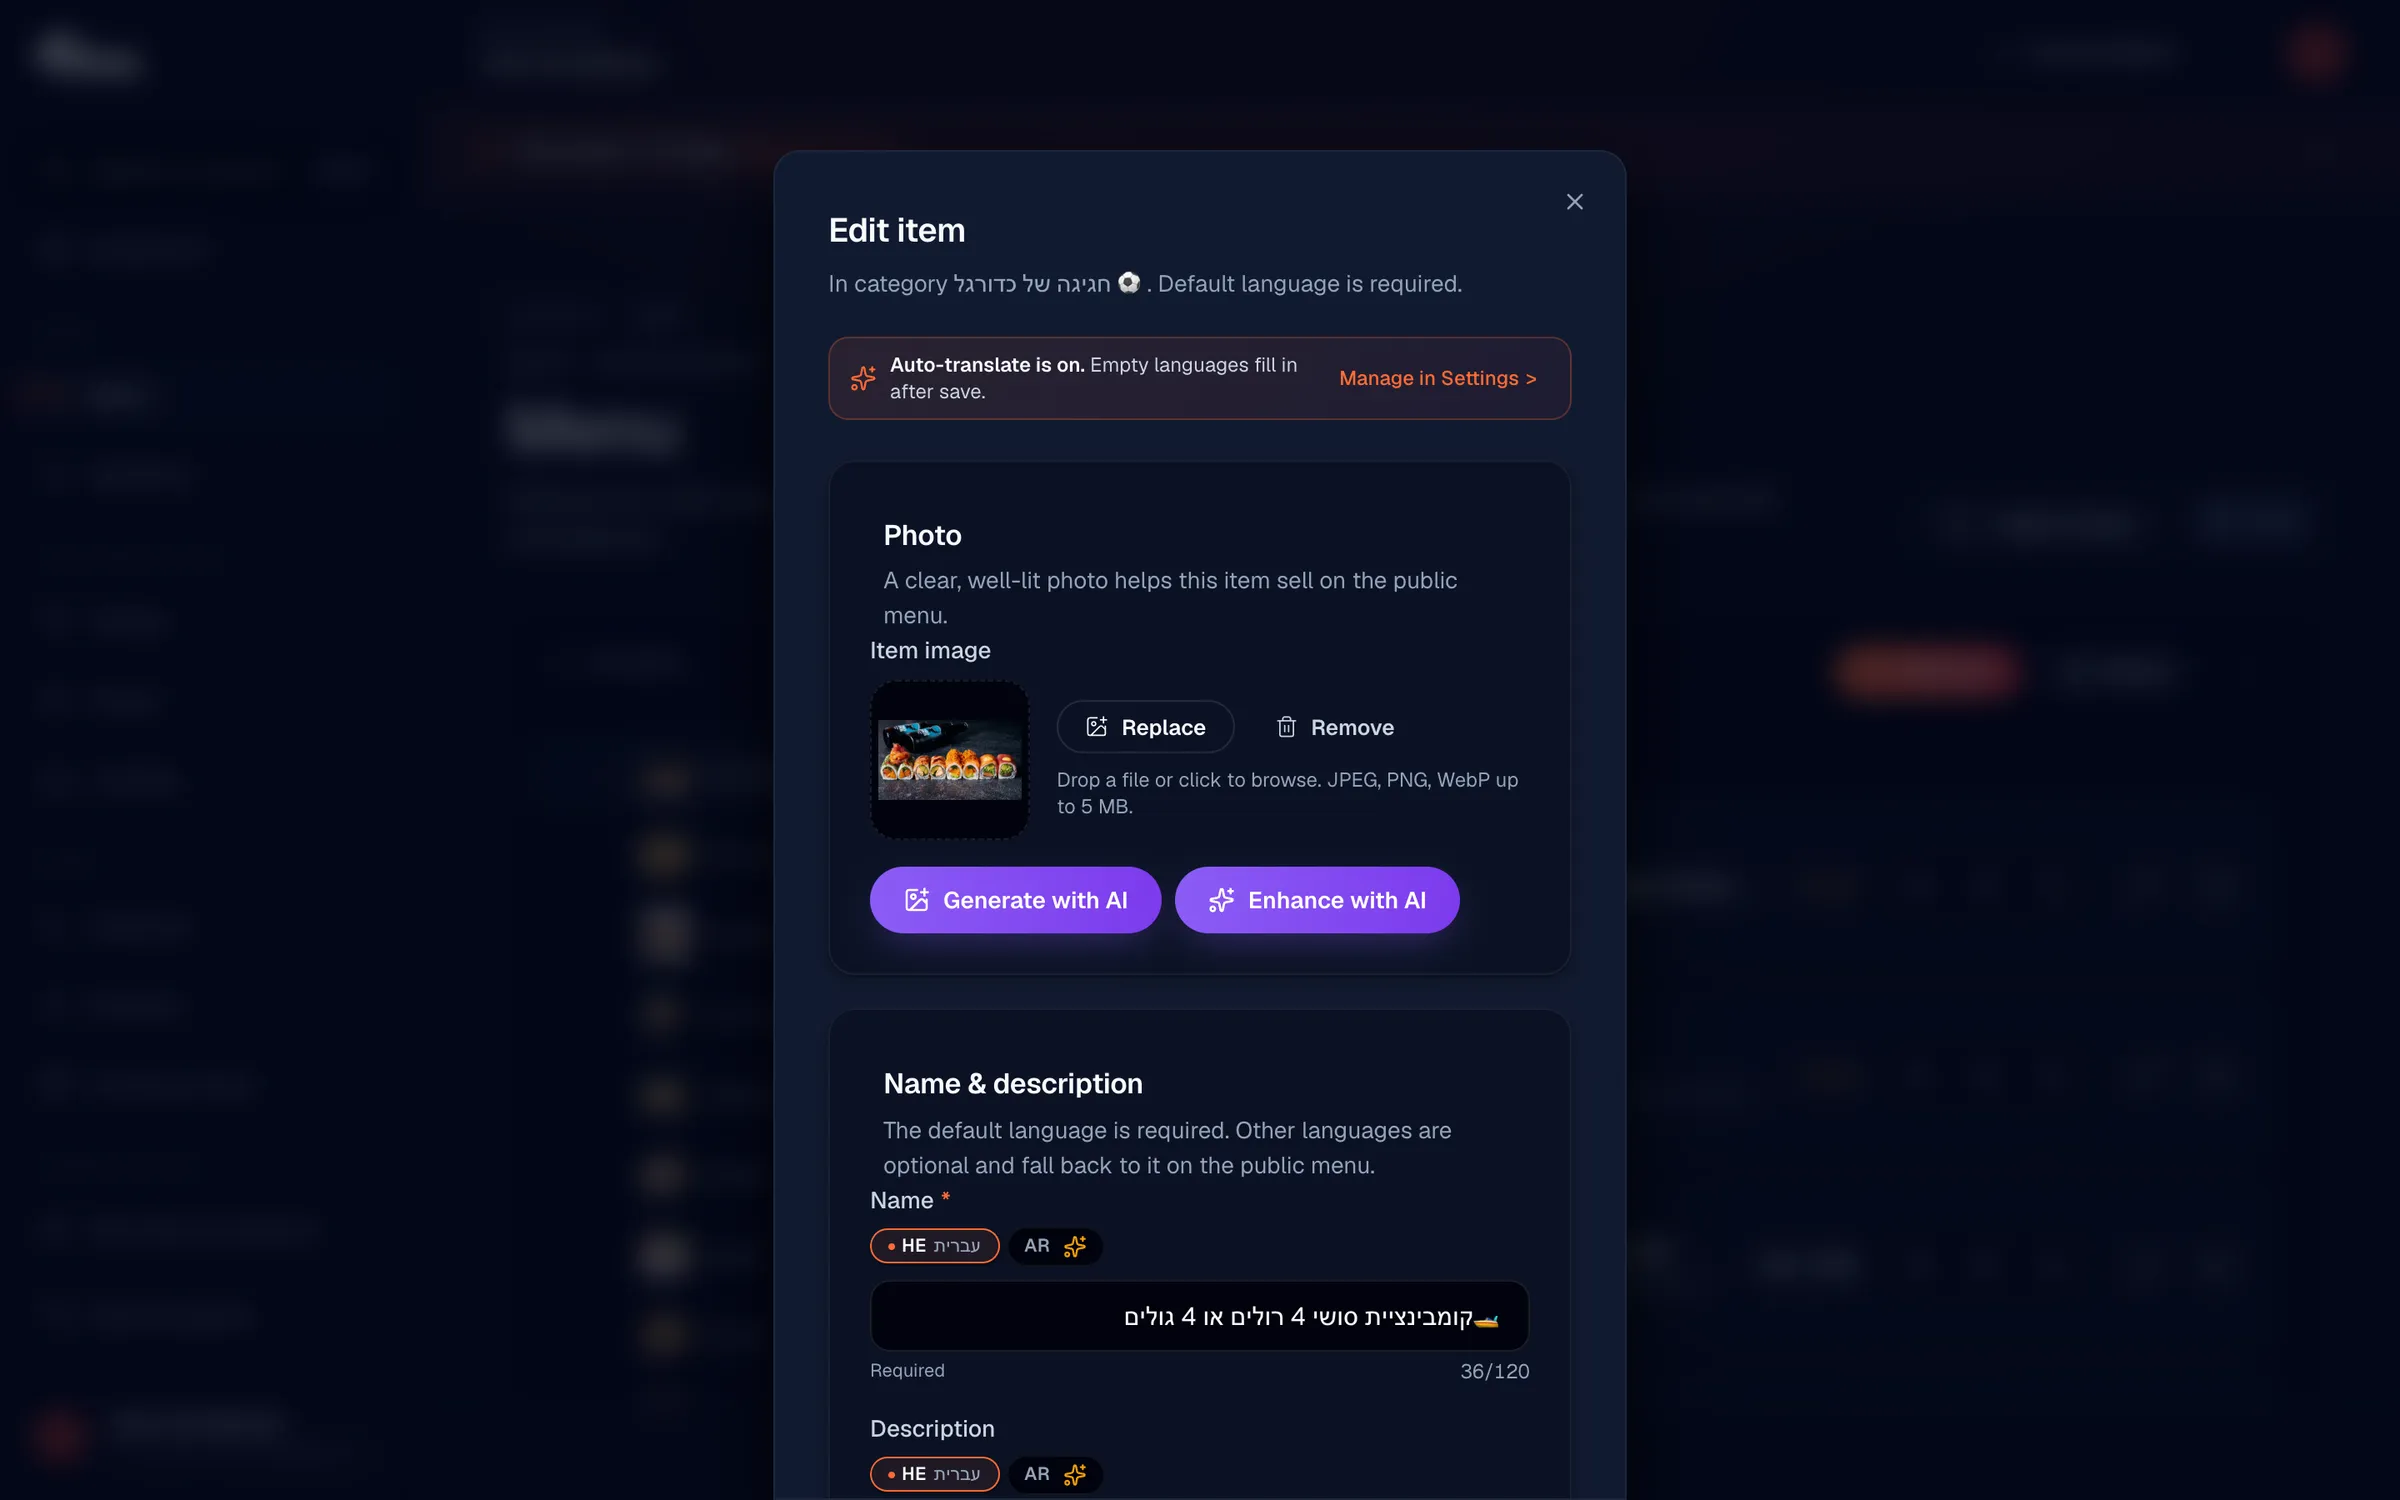
Attach a group to a menu item
To use a group, open the item editor from the Menu page and scroll to the Modifiers section. Find your group and click its chip to select it; selected groups are highlighted in orange and show their option counts. You can attach as many groups to a single item as you need, for example both "Size" and "Extras" on a pizza.
Edit or delete a group
To edit a group, open its card on the Modifiers page, make your changes, and click Save changes. To remove a group, open its card and click Delete. As a safeguard, deletion is blocked while any items still reference the group, so detach it from those items first. The card's "Used by N items" count tells you how many items need detaching.
A group in use cannot be deleted. If you see a "Detach first" message, remove the group from the listed items in the item editor before trying again.
Still stuck? Email us at info@vino-smart.com and we'll help you set up your modifiers.
Was this helpful?