Restaurant Menu Photography Tips: 7 Proven Ways to Make Dishes Sell Themselves
Practical restaurant menu photography tips that help dishes sell themselves. Learn lighting, styling, and digital menu photo strategies that drive more orders.
A blurry photo of your signature dish is doing more damage than no photo at all. Research from the University of Oxford's Crossmodal Research Laboratory shows that visual presentation directly influences how people perceive taste - before a single bite. If your menu photos look like they were taken under fluorescent lights with a phone from 2018, you're actively pushing customers toward safer, cheaper orders. These restaurant menu photography tips will fix that, without requiring a professional photographer or an expensive camera.
The gap between restaurants that use menu photography well and those that don't is widening fast. Digital menus now give every restaurant the ability to show full-color images alongside every dish, but the quality of those images determines whether they help or hurt. Here's how to get it right.
Why Restaurant Menu Photography Tips Matter More on Digital Menus
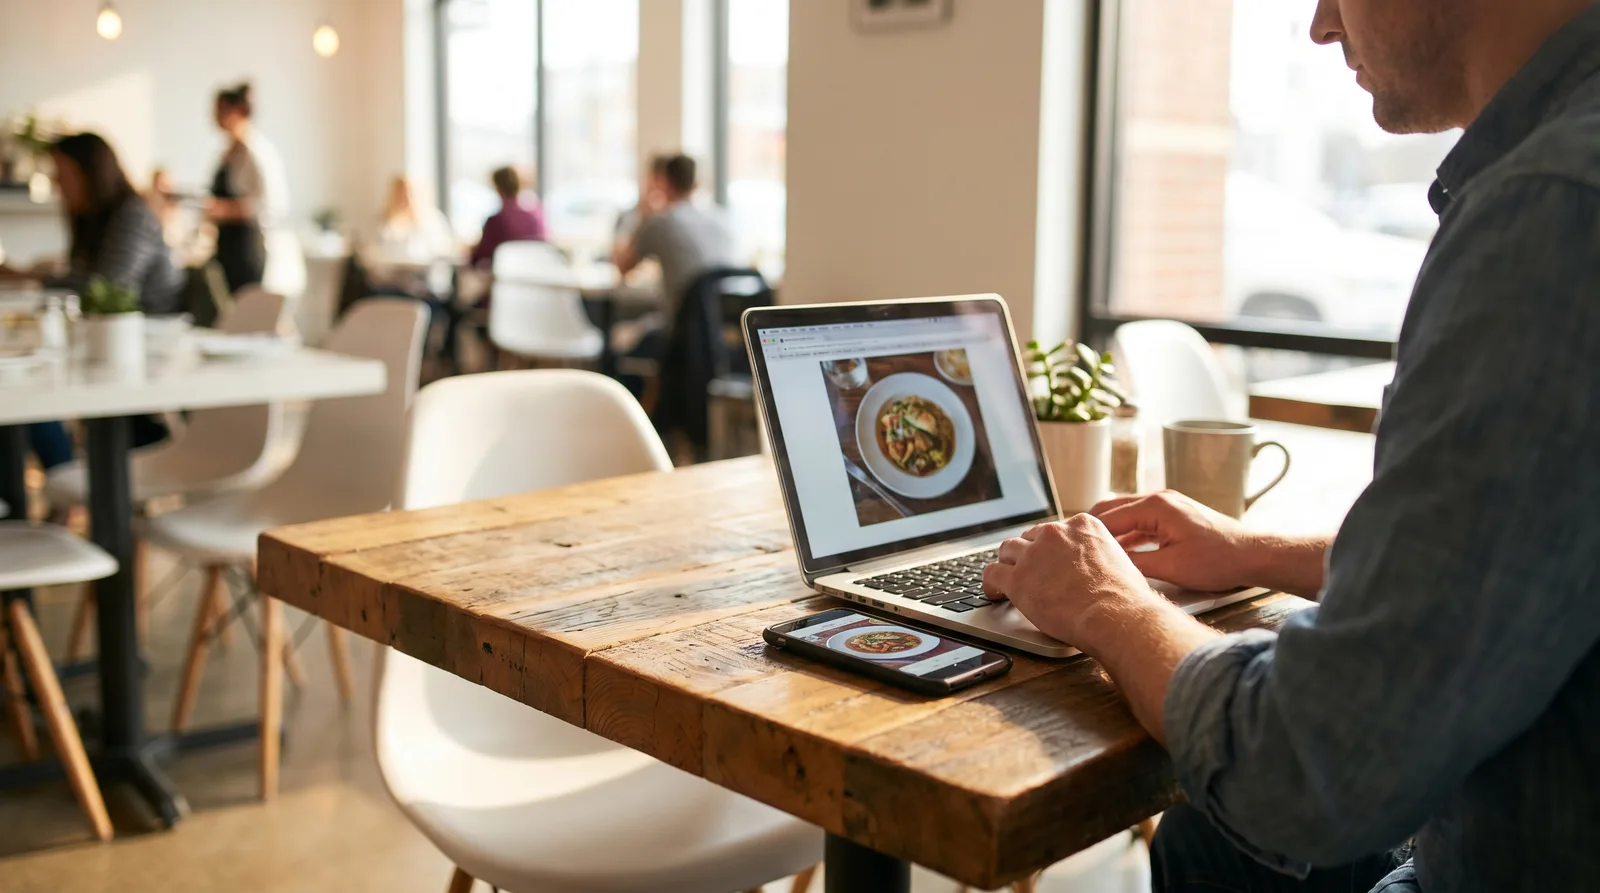
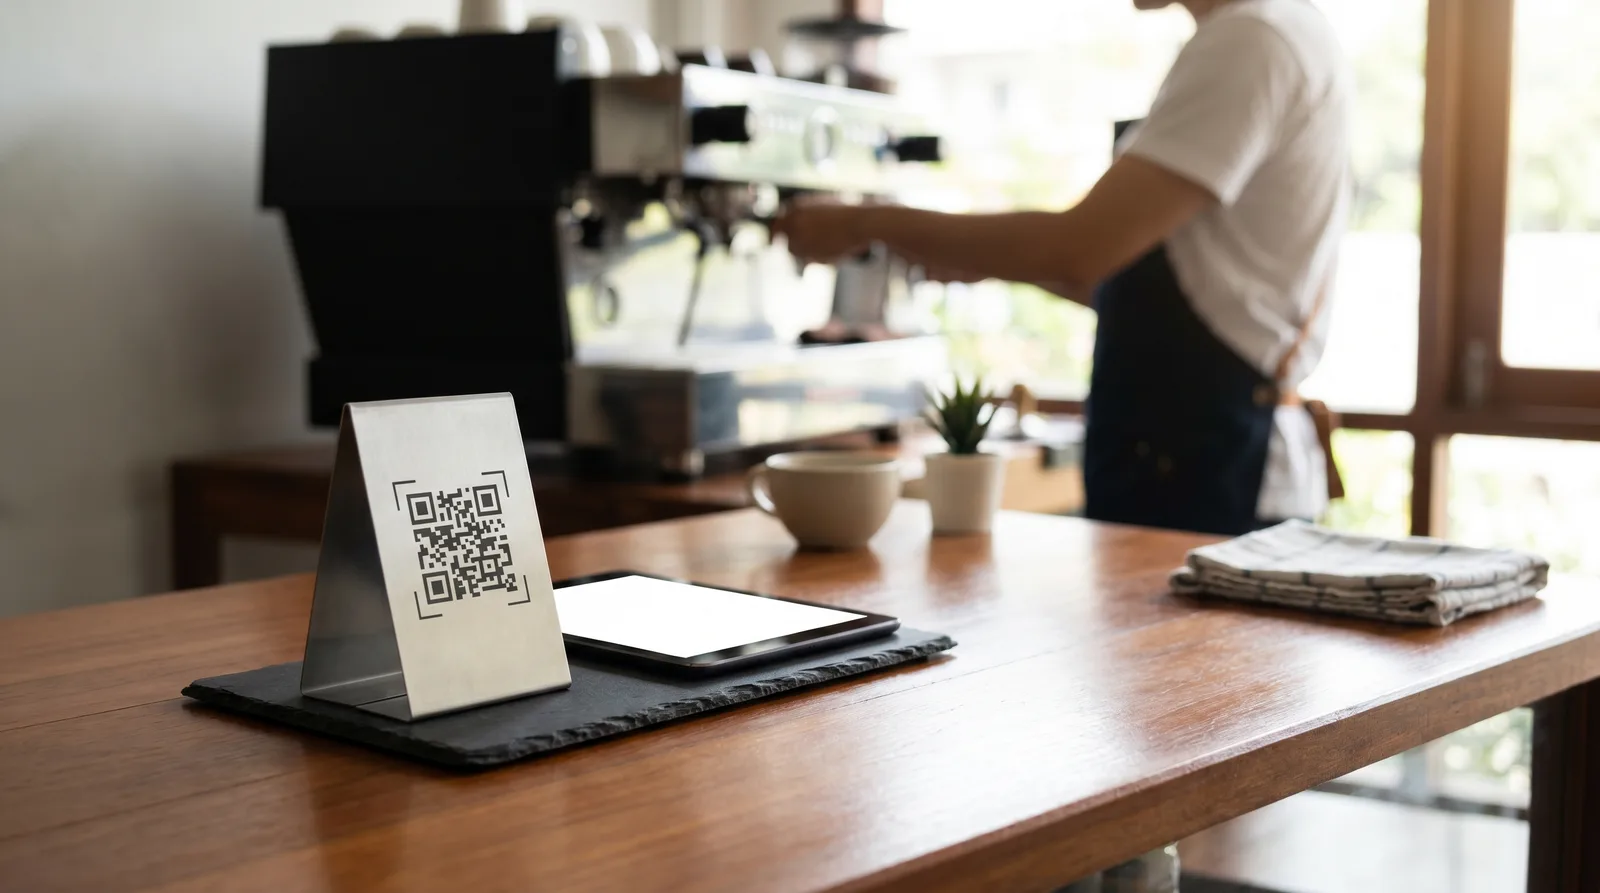
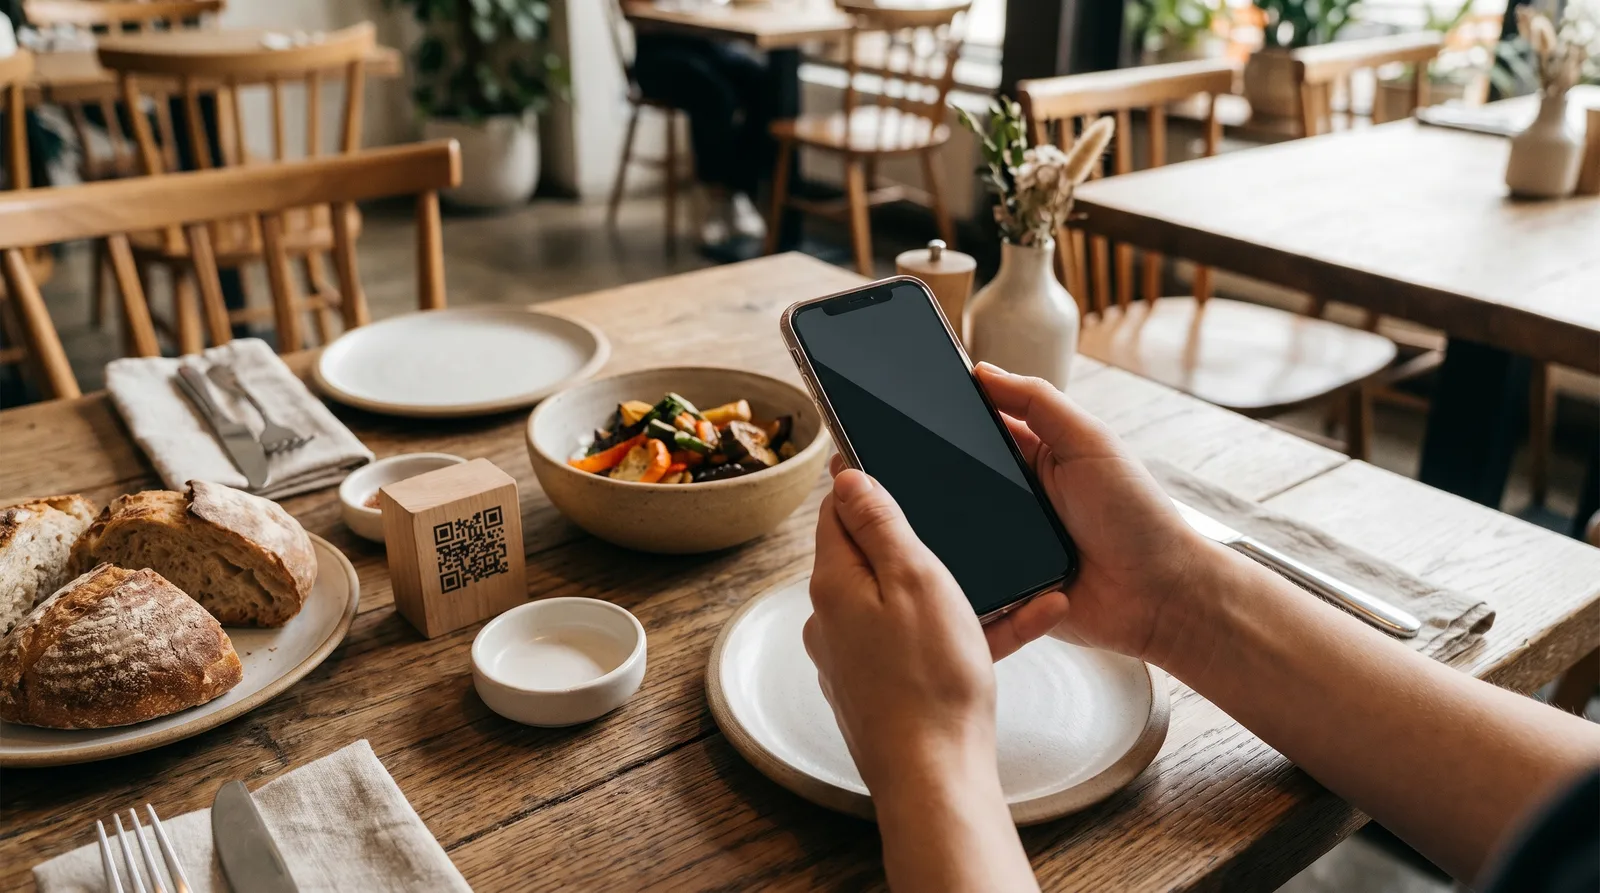
On a printed menu, photos were optional. On a digital menu, they're expected. Customers scrolling through a QR code menu on their phone behave the same way they do on Instagram or a delivery app - they scan images first, text second. Studies consistently show that a menu item with a quality photo gets ordered 25-30% more often than the same item without one.
But here's what most restaurant owners miss: you shouldn't photograph everything. When every item has a photo, nothing stands out. The sweet spot is 2-3 photos per category, reserved for your highest-margin dishes. That selective approach creates visual anchors that guide the customer's eye - and their wallet - exactly where you want them.
If you're running a digital menu platform like Vino, swapping photos in and out takes seconds, which means you can test different images and see what actually moves the needle. Pair great photography with smart pricing psychology layout techniques and you have a menu that truly sells.
Master Natural Lighting (Your Most Powerful Free Tool)
Professional food photographers will tell you: lighting is 80% of the shot. The good news is that the best light source for food photography is completely free. Natural window light produces soft, even illumination that makes food look fresh and appetizing.
How to set it up:
- Place the dish near a large window with indirect sunlight - never in direct sun, which creates harsh shadows and blown-out highlights
- Shoot during the "golden hours" of 10am-12pm or 2pm-4pm when daylight is strong but not overhead
- Use a white napkin, tablecloth, or piece of foam board on the opposite side of the window to bounce light back and fill in shadows
- Turn off all overhead and artificial lights in the area - mixing light sources creates unflattering color casts
If you must shoot in the evening or in a windowless kitchen, invest in a single LED panel light with a diffuser. A decent one costs under $50 and pays for itself with the first round of better photos.
Restaurant Menu Photography Tips for Styling and Plating
The camera sees differently than your eyes. A plate that looks great on the pass might fall flat in a photo. Here's how to bridge that gap:
- Underfill the plate slightly. A crowded plate looks messy in photos. Leave some negative space so the eye can focus on the star ingredient.
- Add height. Stack, lean, or angle components to create dimension. A flat plate photographs flat.
- Use garnishes intentionally. A sprig of fresh herbs or a drizzle of sauce adds color contrast and visual interest - but don't overdo it. If the garnish isn't on the real dish, don't fake it.
- Wipe the rim. Every stray drip or fingerprint shows up magnified in a photo. Keep a damp cloth nearby while shooting.
- Choose your background carefully. A clean wooden table, a simple marble surface, or a neutral linen works. Avoid busy tablecloths or cluttered backgrounds that compete with the food.
One trick that professionals use: prepare two versions of the dish. One is the "hero" plate styled specifically for the camera. The other is the backup in case something wilts, melts, or shifts during the shoot. For items like burgers or stacked dishes, toothpicks hidden behind the food can hold everything in place.
Get the Angles Right: Which Shots Work Best for Which Dishes
Not every dish looks good from every angle. Choosing the right camera angle is one of the most impactful restaurant menu photography tips, and it depends entirely on the dish:
- Overhead (flat lay) - best for: pizzas, grain bowls, charcuterie boards, salads, and any dish where the toppings are the star. Hold the camera directly above and parallel to the table.
- 45-degree angle - best for: most plated entrees, pasta dishes, and soups. This is the natural dining perspective and feels most familiar to viewers. It shows both the top and the side of the dish.
- Straight-on (eye level) - best for: burgers, layered desserts, tall cocktails, and anything with visible layers or height. This angle emphasizes stacking and structure.
A practical rule: if the dish has interesting height, go low. If it has interesting surface detail, go high. When in doubt, the 45-degree angle is always safe.
Shoot each dish from at least two angles so you have options when it's time to upload. What looks best on a phone screen sometimes surprises you.
Edit Smart: Simple Adjustments That Make a Big Difference
You don't need Photoshop. The free editing tools built into your phone - or free apps like Snapseed or Lightroom Mobile - can transform a decent photo into a great one in under two minutes.
The essential edits, in order:
- Brightness: Bump it up slightly. Food photos almost always benefit from being a touch brighter than they look in real life.
- Contrast: Increase moderately to make colors pop and create separation between elements.
- Saturation: A small boost (10-15%) makes food look more vibrant. Go too far and it looks artificial - especially with reds and greens.
- Sharpness: A subtle sharpen brings out texture in grilled meats, crispy coatings, and fresh vegetables.
- Crop: Tighten the frame. Remove distracting edges, extra empty space, or anything that doesn't serve the dish. Most menu photos look best in a square or 4:3 ratio for digital display.
What not to do: Don't use Instagram-style filters. They add mood at the expense of accuracy, and customers who order a dish based on a heavily filtered photo will feel misled when the real thing arrives. Authenticity builds trust. Filters erode it.
Optimize Photos for Your Digital Menu Platform
A beautiful photo that takes four seconds to load on a customer's phone is worse than no photo at all. Optimization matters as much as the image itself.
- Resize before uploading. Menu photos don't need to be 4000 pixels wide. For most digital menus, 1200px on the longest side is plenty. This keeps file sizes small and load times fast.
- Compress intelligently. Use a tool like TinyPNG or Squoosh to reduce file size by 60-80% with almost no visible quality loss. Aim for under 200KB per image.
- Use consistent aspect ratios. If all your menu photos are the same shape, your menu layout looks clean and professional. Inconsistent ratios create a messy, disjointed feel.
- Name files descriptively. Instead of IMG_4392.jpg, use grilled-salmon-entree.jpg. This helps with organization and gives a small SEO boost if your menu is web-based.
- Shoot in the highest quality your phone allows. You can always compress later, but you can't add detail back to a low-resolution original.
Modern smartphones - especially anything from the last three to four years - shoot food photos that rival entry-level DSLRs when the lighting is right. The camera you already have in your pocket is almost certainly good enough.
Build a Repeatable Photo Workflow for Menu Updates
The restaurants that consistently have great menu photos aren't the ones with the biggest budgets. They're the ones with a system. When you add a new dish or run a seasonal special, you shouldn't have to figure out the photography process from scratch every time.
Create a simple shooting kit:
- A white foam board for bouncing light (under $5 at any craft store)
- Two or three background surfaces - a cutting board, a clean section of your bar top, or a piece of slate
- A phone tripod or small stand to keep shots steady and consistent
- A damp cloth for plate cleanup
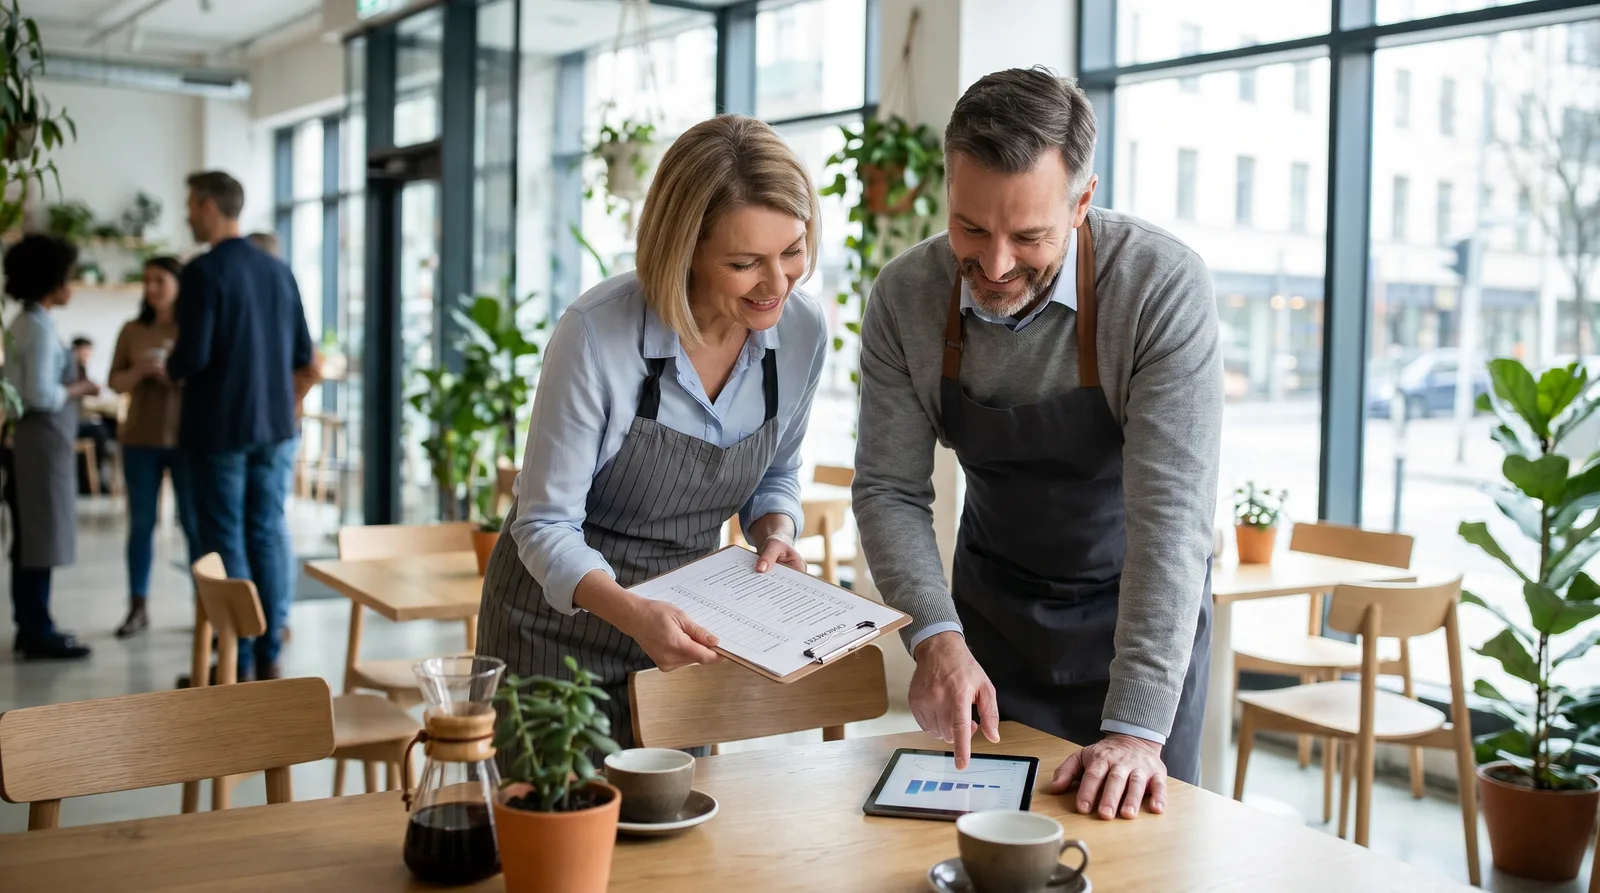
Set a recurring schedule. Block 30-60 minutes once a month to reshoot any new items and replace underperforming photos. Review your menu analytics to see which items get views but not orders - a better photo might be the missing piece.
Keep a style guide. Even if it's just a note on your phone, write down your preferred angle, lighting setup, and editing settings. This way, if someone else on your team takes over shooting duties, the photos stay consistent.
Consistency across your menu photos signals professionalism. When every image feels like it belongs to the same family - same lighting tone, same background style, same level of polish - the entire menu feels more trustworthy. And trust is what turns a browser into a buyer.
Start Shooting Today
You don't need a photography degree, a studio, or an expensive camera. You need a window, a clean plate, and 20 minutes. Pick your three best-selling dishes, set them by the brightest window in your restaurant before the lunch rush, and take 10 shots of each using the tips above. Edit the best ones, upload them to your menu, and watch what happens to those order numbers.
The restaurants that win on digital menus in 2026 aren't just the ones with the best food - they're the ones that show their best food. Every dish you serve deserves to be seen at its best. Start with three photos this week, and build from there.
Ready to go digital?
Create your restaurant's smart digital menu in minutes with Vino. No app downloads, no complicated setup.