How to Make a Free QR Code Menu (Step by Step)
Learn how to make a free QR code menu for your restaurant in 10 minutes. A step-by-step guide covering setup, dynamic vs static codes, placement, and printing.
On this page 8
It is Friday night, a table of six just sat down, and your reprinted menus are still at the print shop because you raised three prices last week. A QR code menu solves that headache for $0 - and you can have one live before the appetizers land.
To make a QR code menu, add your dishes to a free digital menu platform, generate a dynamic QR code that points to your menu page, then print that code on table tents and test the scan with your phone. Setup takes about 10 minutes, and you can change prices anytime without reprinting.
This guide walks through how to make a QR code menu step by step, including the one decision - dynamic versus static - most restaurants get wrong the first time.
What You Need to Make a QR Code Menu
You do not need a developer, a designer, or a point-of-sale upgrade. You need three things, and you probably already have all of them:
- A digital menu platform. This is where your menu lives. Free tiers exist, so you do not need to pay to start. The platform hosts your menu page and generates the QR code that links to it.
- Your current menu. A printed menu, a PDF, or a clear photo works as the source for item names, descriptions, and prices.
- A way to print. A standard office printer covers table tents and counter signs. A laminator or local print shop helps for outdoor codes.
That is the full list. According to industry data from Toast, QR code and contactless ordering moved from a pandemic stopgap to a standard expectation among diners. Meeting it no longer requires a big budget.
Step 1: Add Your Menu or Scan a Paper Menu With AI
Your menu page is the destination your QR code points to, so build it first. You have two paths.
The slow path is manual entry - typing every dish name, description, and price by hand. For a 70-item menu, that is easily an hour of work and a few typos.
The fast path is AI scanning. Upload a photo or PDF of your paper menu, and the software reads it and builds a structured digital version automatically - sections, items, and prices already in place. You review, fix anything the scan missed, and publish. That is the difference between launching today and next week. We cover the full workflow in our guide on how to scan a paper menu to digital with AI.
Either way, organize items into clear sections (Starters, Mains, Drinks, Desserts) and double-check prices before moving on. The menu page is what diners see - the QR code is just the doorway.
Step 2: Generate Your QR Code
Once your menu page is published, generating the code is the easy part. Inside your platform, find the QR code or "share" option and create the code linked to your menu URL. You get a downloadable image - usually a PNG or SVG - ready to drop into a print template.
A few things to get right while you are here:
- Keep it high-contrast. Dark code on a light background scans most reliably. Avoid busy photos or low-contrast colors behind it.
- Download a vector (SVG) if offered. Vectors stay crisp at any size, from a tiny sticker to a window decal.
- Add a short instruction. A line like "Scan for our menu" removes hesitation for less tech-savvy guests.
You do not need a separate QR generator website. Standalone generators often produce static codes you cannot edit later - which leads straight to the next step.
Step 3: Choose Dynamic vs Static
This decision trips up most first-timers, so slow down here.
- Static QR code: The destination is baked permanently into the code's pattern. If your menu URL ever changes, the code breaks and you must reprint everything. Random free generators almost always create static codes.
- Dynamic QR code: The code points to a short redirect you control. You can change where it leads, update the menu, or swap prices - all without reprinting the printed code.
For a restaurant menu, choose dynamic every time. Your menu is a living document: prices shift, specials rotate, items sell out. A dynamic code means one print run lasts for years while the menu behind it updates instantly. Platforms built for restaurants, including Vino Smart Menus, generate dynamic codes by default - see our features overview.
Step 4: Place and Print the QR Code
A QR code only works if guests can find and scan it comfortably. Placement matters more than people expect.
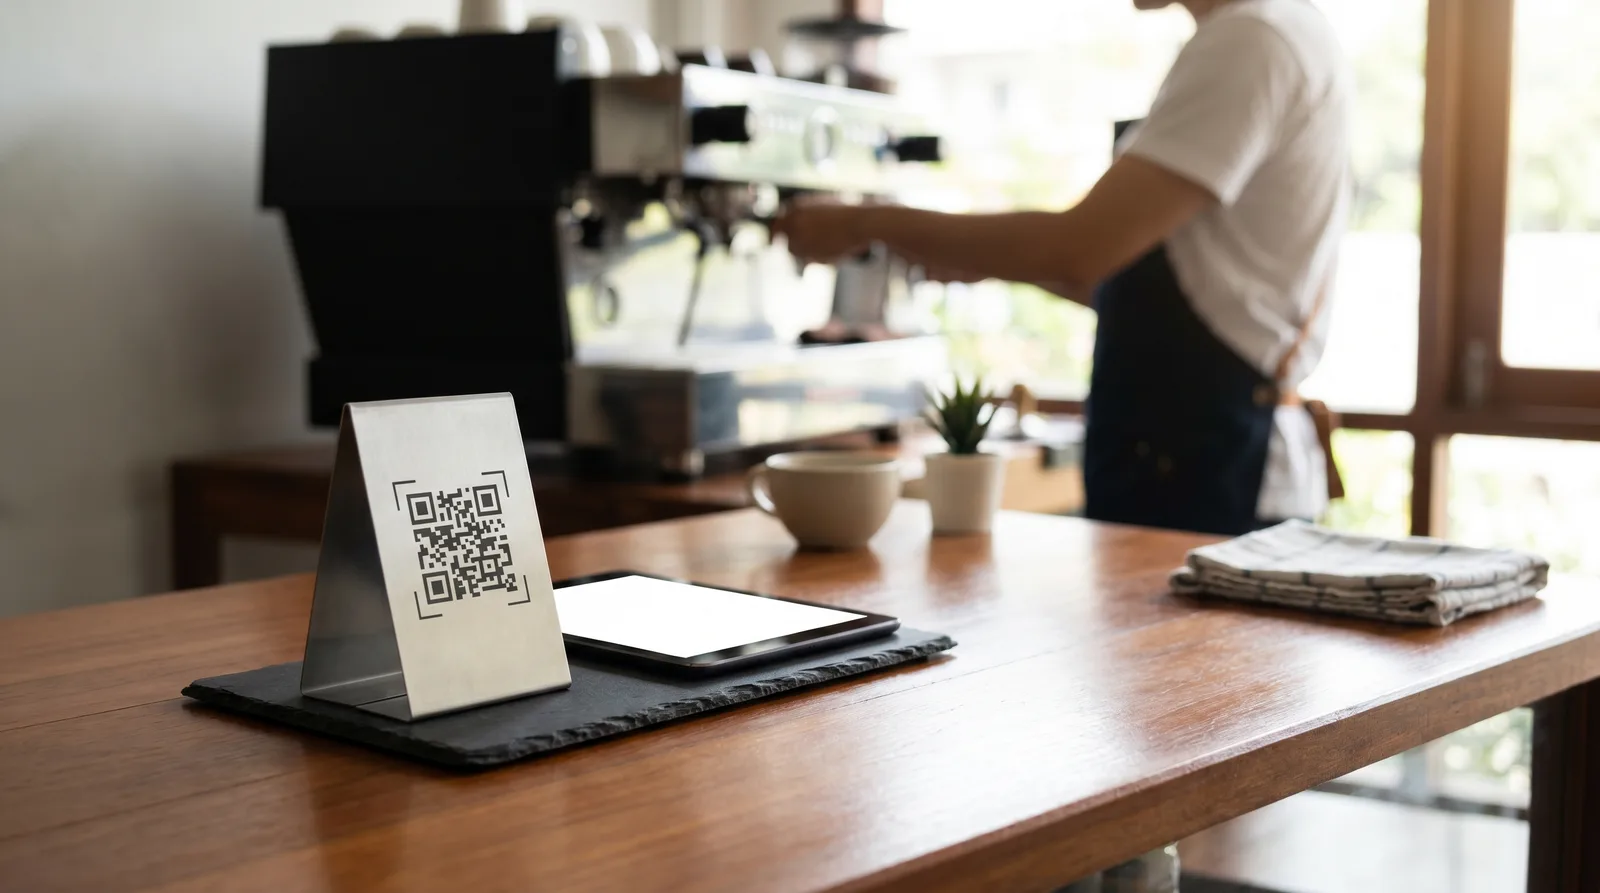
- Table tents and table stickers are the classic spot - eye-level, no menu handling required.
- The host stand or counter works well for cafes, bars, and quick-service spots where guests order before sitting.
- Receipts, windows, and napkin holders add backup touchpoints for guests who miss the first one.
Size the code to at least 1 inch (2.5 cm) square for table tents, larger for wall signs scanned from a distance. Test print one copy before running 50, and laminate anything used on a patio. Keep the design simple: a clean code, your logo, and a one-line instruction outperform a cluttered card every time. For more on layout, our guide to QR code menu design best practices goes deeper.
Step 5: Test and Update Anytime
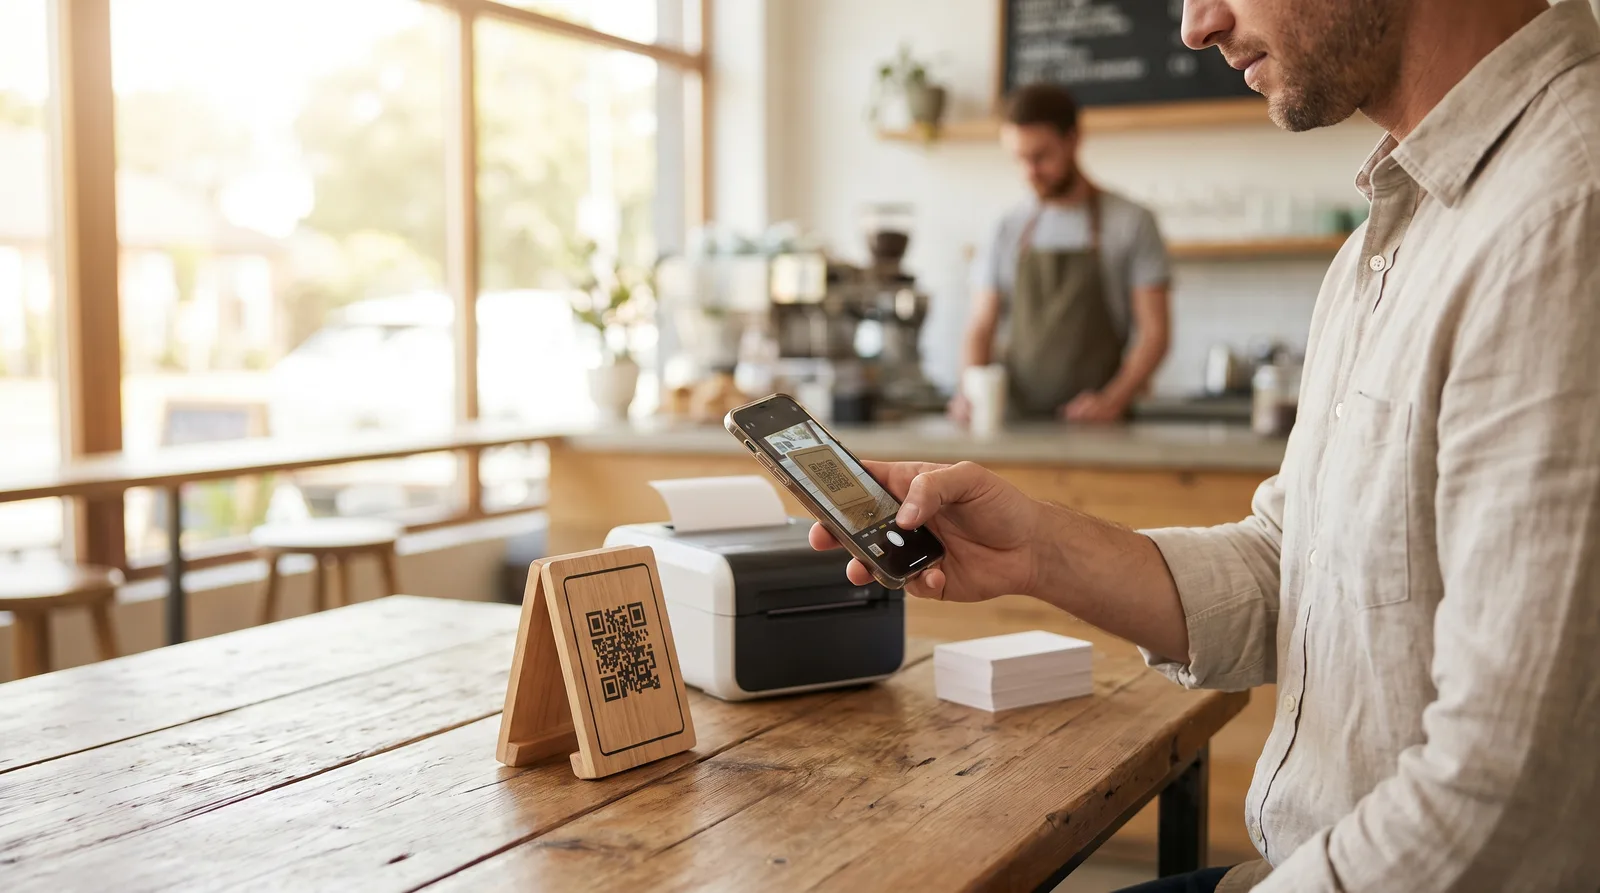
Before guests ever scan it, you test it. Open your phone camera, scan the printed code, and confirm three things: the menu loads fast, reads clearly on a small screen, and shows correct prices. Check it on cellular data, not just your venue Wi-Fi. Then ask a staff member to scan it cold, the way a guest would - they will spot a confusing section faster than you will.
Once it is live, the real payoff arrives: updates are instant and free. Raise a price, 86 a dish, or launch a holiday menu, and the change appears the moment you save it - the printed code never changes. No reprints, no print-shop runs, no outdated cards. That is the entire reason a QR code menu beats paper, and it costs nothing to maintain.
Make Your Free QR Code Menu Today
You now have everything you need to make a QR code menu before your next service - no budget, no developer, no print-shop wait. Build your menu (or scan a paper one with AI), generate a dynamic code, print it, and test the scan.
Start free, see how it feels in your dining room, and upgrade only if you want AI food photos, deeper analytics, or multiple locations. Explore the free and paid plans or book a demo, and have a working QR code menu live today.
Frequently Asked Questions
How do I make a QR code menu for my restaurant?
Add your menu items to a digital menu platform, generate a dynamic QR code, print it on table tents, and test the scan with your phone. With AI menu scanning, you can import an existing paper menu in minutes instead of typing every dish by hand.
Can I make a QR code menu for free?
Yes. Free platforms like Vino let you build a QR code menu at no cost, with a mobile-friendly display and live updates. You only pay if you want advanced analytics, AI-generated food photos, or support for multiple locations.
How long does it take to set up a QR code menu?
Most restaurants set up a QR code menu in about 10 minutes. Using AI to scan an existing paper menu removes the manual entry, so you can generate the code, print it, place it on tables, and go live the same day.
Ready to go digital?
Create your restaurant's smart digital menu in minutes with Vino. No app downloads, no complicated setup.